In the Cellar-
How to make a Fine Pinot Noir at Home
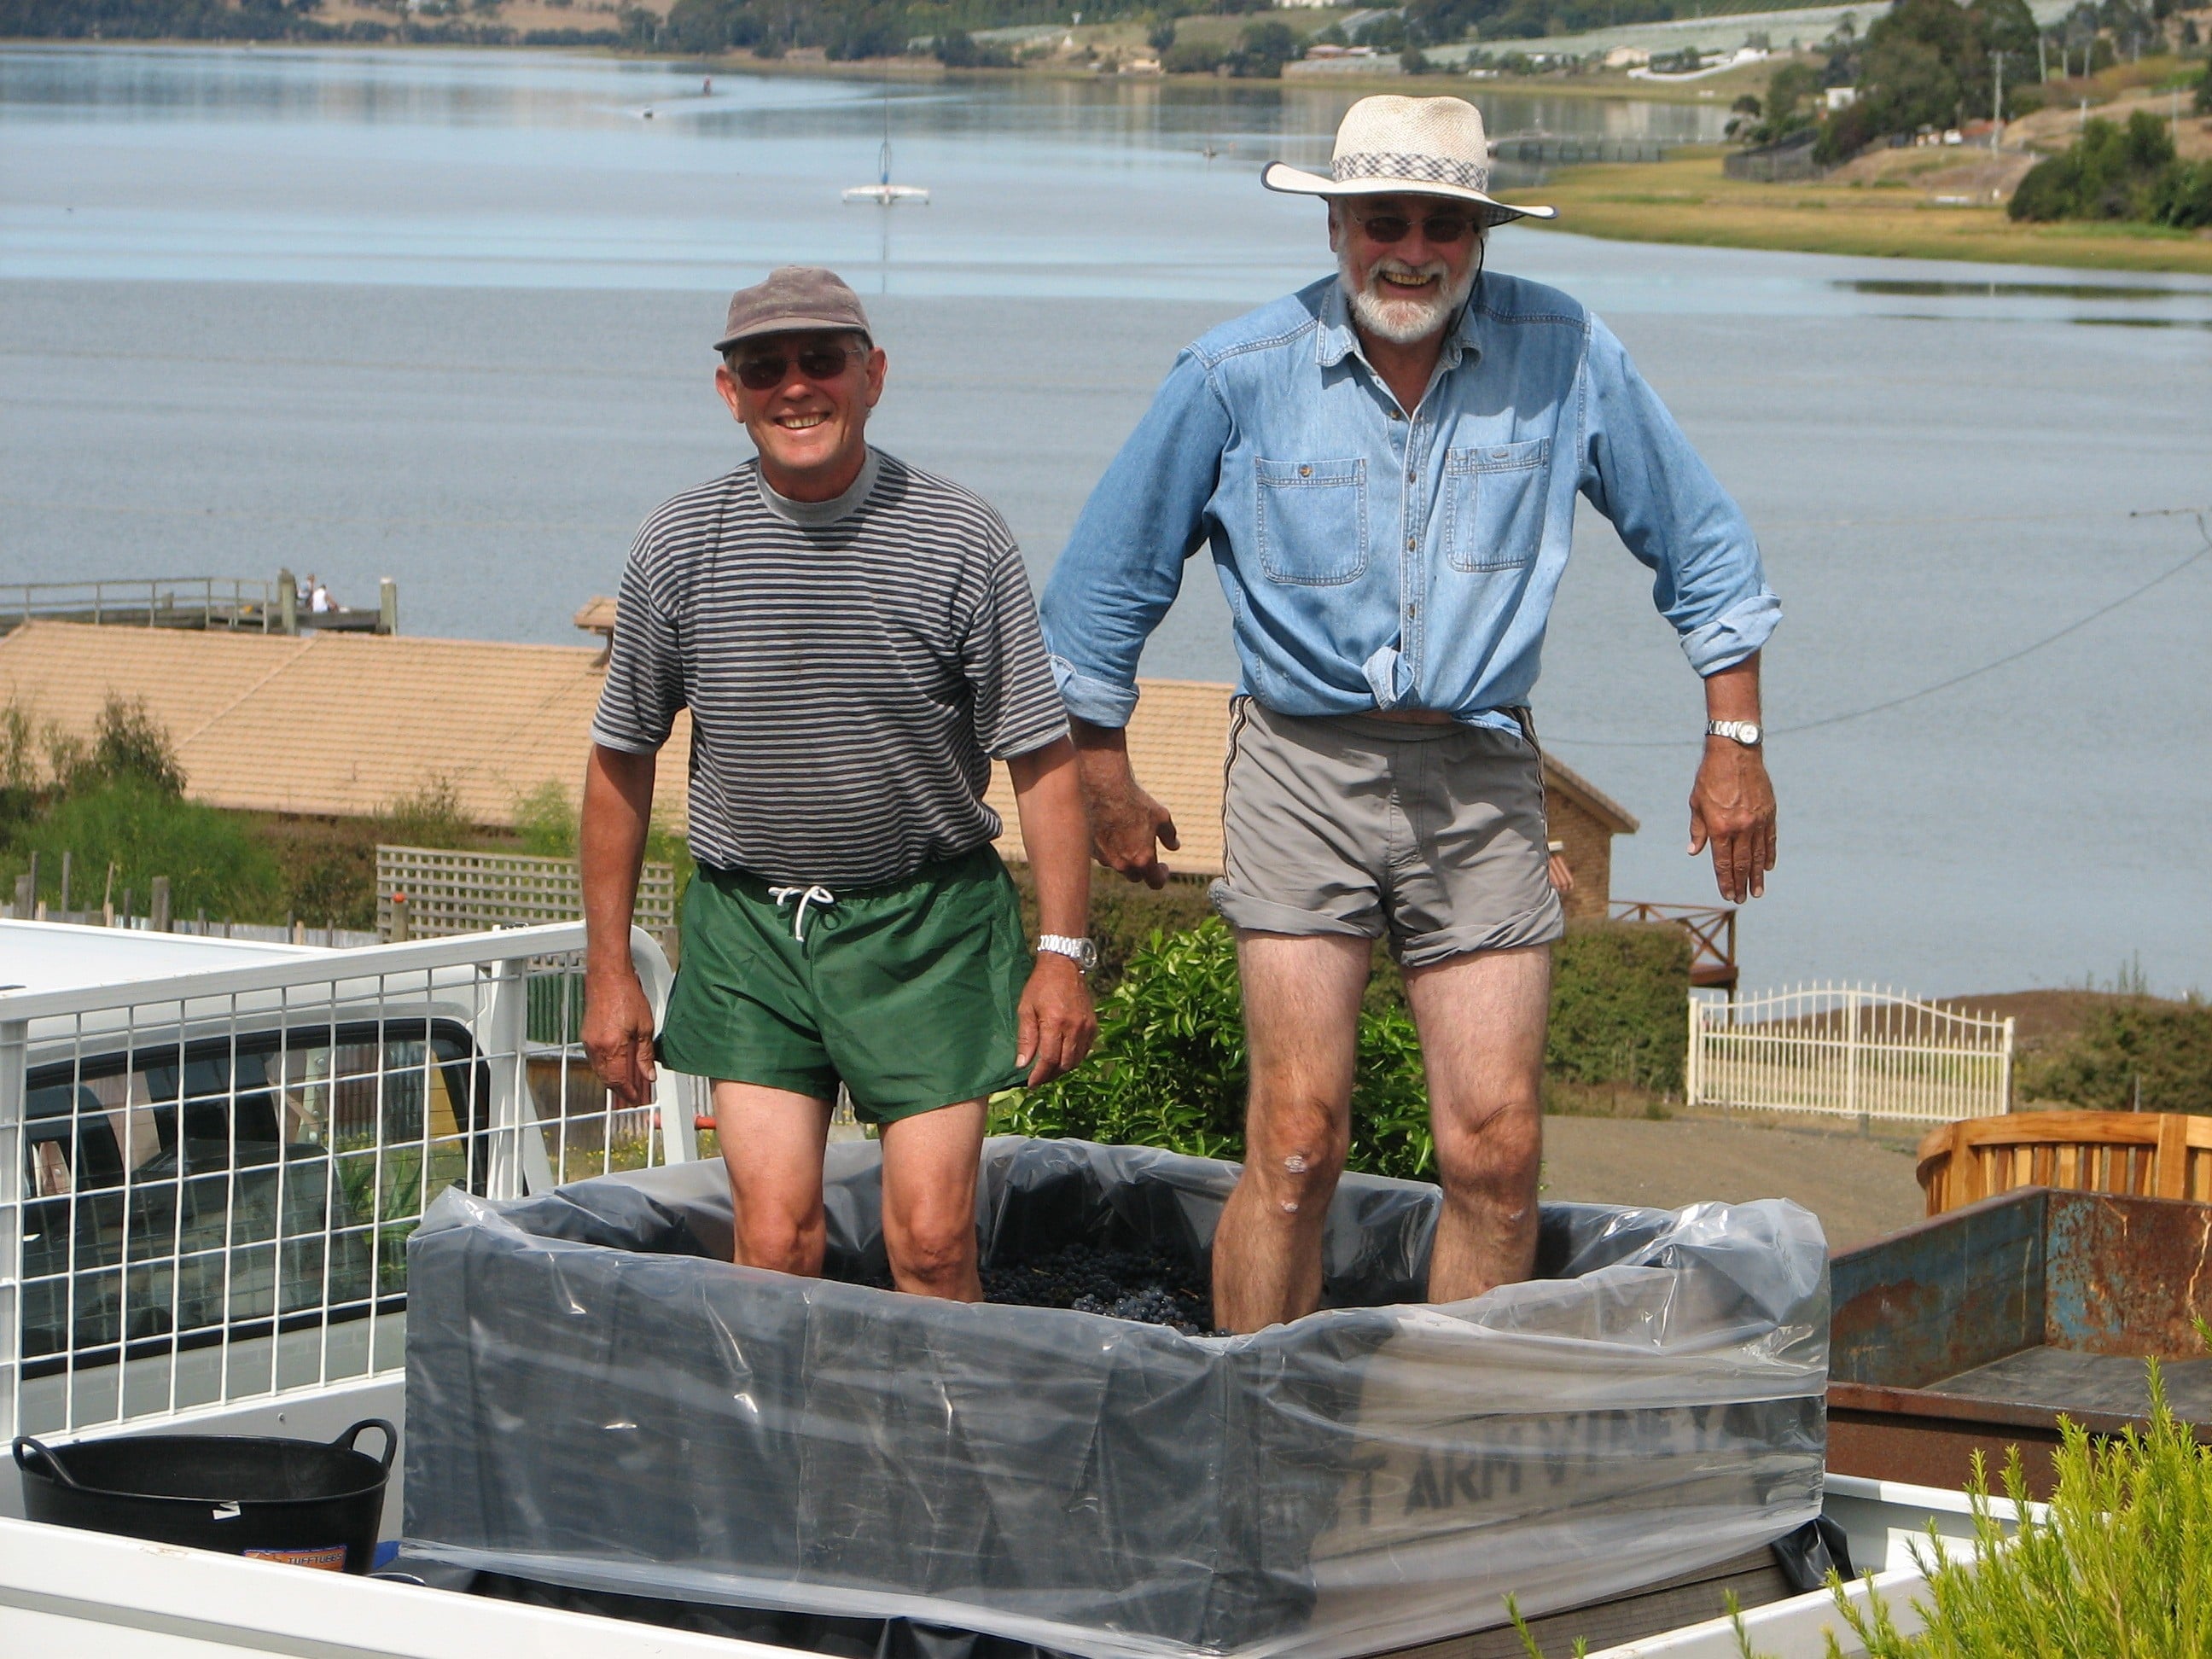
The page photo isn't a joke! That's exactly how we started making wine.
I had been playing around for a couple of years with my friend Phil making blackberry wine from the bushes down our road in the late summer months.
I had been managing teams of grape pickers at a vineyard over the river ( just above Phil's head in the picture). We had been instructed to leave a block of ripe Pinot Noir grapes unpicked, as the vineyard winemaker had decided they were too big for the wine he wanted to make (wrong skin to juice ratio). At the end of the day, I approached the vineyard manager and asked if I could have permission to harvest the grapes from that block. He was only too happy to allow this, as the nets now off the block would soon allow the starlings to raid the ripe grapes. In the morning we went to the vineyard and harvested 250 kg of Pinot Noir grapes. We crushed them in the grape box shown and fermented the grapes using my foodgrade plastic fermenters. I had the cheek to take two bottles of the wine to a harvest celebration at the same vineyard the following year. When the winemaker tasted the wine he was most surprised how well it had finished.
The years after that, we regularly harvested 250-400 kg of Pinot Noir from my own 100 vines.
I have now been making wine for 20years and have never had a failed vintage. Admittedly, some were better than others, depending on the season, but all matured well and made beautiful drinking over 20 years. I sold the house and vineyard in 2019 and have kept up my wine making with grapes obtained from friends and a variety of fresh fruit and kits obtained from the internet.
I have had great success with WineXpert products and can highly recommend these.
You are reading this wanting to learn how to make wine at home, so I won;'t keep you waiting.
Jon Hosford
November, 2024
Equipment Required for Wine Making
Grape Press
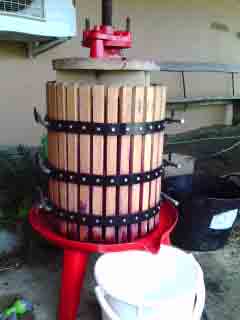
These come in various sizes. I would suggest a 40 Kg press for those who are making a quantity of wine.
You can load up the press and use the packing blocks illustrated
to keep distance between the pressing ratchet and the top of the press,
so that when the grapes are pressed to dryness, the ratchet will still be clear of the press wooden slats.
A new press this size will cost between $ 800-900 in Australia.
You need to keep your press scrupulously clean.
Take the time to pressure wash it thoroughly after each use,
and before use make sure you scrub it well with a commercial sterilant readily obtainable at Home Brew shops.
With a wooden press, do not rinse the solution off the press with water,
as this will allow an immediate recolinisation of the press with yeast and mould spores.
With stainless steel you need to rinse off the solution as it may cause pitting of the stainless steel if not rinsed.
It is the foam created that sterilises the surfaces of your equipment. This imparts no off odours or flavours in your wine and is stable in both hot and cold water.
Crusher Destemmer

This item was a blessing for us in our 3rd vintage.
I learned the hard way by foot crushing and hand removing all green material from the must in the first vintage.
In our second vintage we borrowed a grape crusher, but unfortunately it was designed for white wine
where you don't need to remove the berries from the bunch.So this crusher cut the bunches into many pieces before crushing them, which made the task of removing green matter from the must about 5 times more difficult.
I HAVE LEARNED:
The machine pictured has plastic fluted rollers which gently remove the berries from the stems
and eject the stems to the other end where they are collected in a bin.
The wine grapes fall into bins placed under the crusher. See the photo below.
These machines cost about $2,200 and are a huge saving of time and an exponential improvement in the quality of your must. You can obtain a hand turned one for about $1,400, but the investment in the electric model is well worth it over a number of years.
SO
If you harvest more than 100kg of grapes per season, this piece of equipment is an essential.
They must be kept scrupulously clean.
You need to pull them apart to get at all the working parts to keep them in good order from season to season.
I mount mine on a metal table frame and place the plastic bins underneath.
A separate bin at the end catches the stems when the are ejected.
The must ends up with very little green material in it.
Remember you must sterilise this as well by brushing with the sterilising solution.
A spray bottle of sterilant solution .
Food Grade Plastic Fermentation Containers
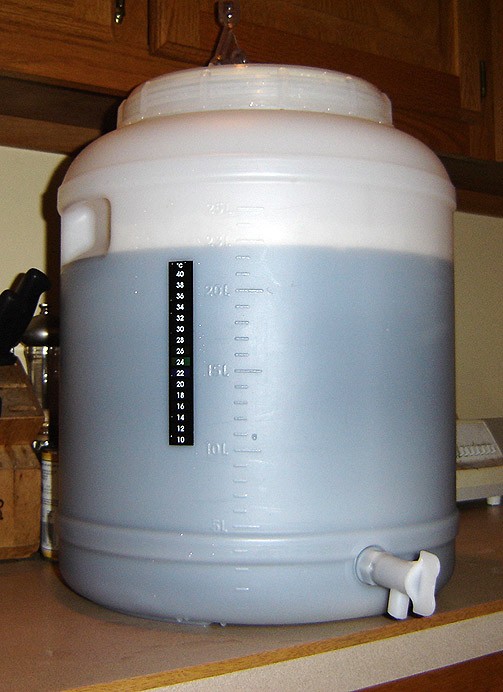
Any plastic you consider using in your winery should be food grade.
I have relied on glass and food grade plastic vessels for fermentation and processing of wine before bottling.
Glass is definitely better than plastic, but it is heavier and is generally not available in the capacity you will require if you are making more than a few litres of wine.
Stainless steel is the best of all as it is easy to clean and does not impart any flavour into the aging wine.
The one pictured is a 20 litre container , which is fine for fermenting about 10-15 litres of wine in the primary ferment.
You will also need a range of larger ( 60 litre) and smaller (5-20 litre) vessels ( usually in glass) to see the full process through.
As wine must be kept air free after the primary fermentation, the size of the container is important.
You will need a range of containers to cope with the quantity of wine you produce.
Have all these available and sterilised prior to your crush as you can never be certain what quantity you will have.
The smaller containers allow you to ferment small quantities of wine with which to top up the larger carboys during the aging process.
At this stage air is an enemy of the wine, so it is necessary to keep your containers 90% full after the primary fermentation.
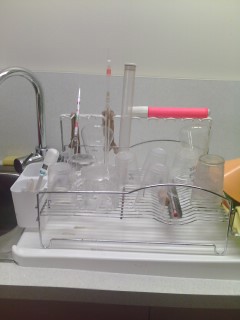
Burette & Flasks
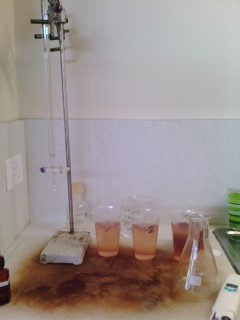
I use a burette with stand recruited from a discarded school supply ( a good source if you know a science teacher), a 250ml grade flask.
3 clear plastic cups labeled 1 2 &3 for wine samples and various other containers.
This equipment can be substituted by a syringe with capacity 15 ml if necessary.
The burette is far more accurate for your measurement.
See here for the titration process.
3 clear plastic cups labeled 1 2 &3 for wine samples and various other containers.
This equipment can be substituted by a syringe with capacity 15 ml if necessary.
The burette is far more accurate for your measurement.
See here for the titration process.
Funnel
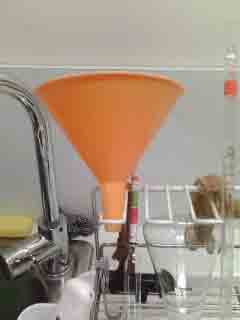
An absolute necessity for pouring liquids into small openings to prevent spillage.
I have a small funnel as well placed in the top of the burette to allow easy pouring of the sodium hydroxide used in the titration.
I have a small funnel as well placed in the top of the burette to allow easy pouring of the sodium hydroxide used in the titration.
Drying Rack
I find this piece of equipment invaluable in my wine making kitchen.
It allows me to wash items as soon as they are finished and to allow them to air dry overnight. Whenever you reuse equipment you must sterilise it first.
It allows me to wash items as soon as they are finished and to allow them to air dry overnight. Whenever you reuse equipment you must sterilise it first.
Bottlebrush
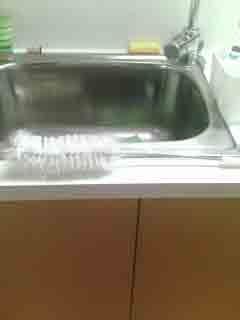
A bottle brush allows you to thoroughly clean the inside surfaces of bottles and flasks.
The tannins from wine build up on these surfaces, and as well as carrying unwanted yeast spores they discolour the glass surface.
A soak every so often in pink stain remover and a swirl with the bottle brush makes them sparkling clean again for their next use.
The tannins from wine build up on these surfaces, and as well as carrying unwanted yeast spores they discolour the glass surface.
A soak every so often in pink stain remover and a swirl with the bottle brush makes them sparkling clean again for their next use.
Set of Scales
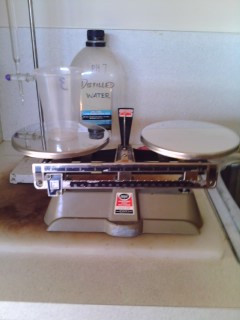
Not essential, but handy when weighing accurately fine amounts of powdered chemicals used in wine making.
Again, if you have a contact with a school, keep a look out for replaced equipment from the Science Department.
Again, if you have a contact with a school, keep a look out for replaced equipment from the Science Department.